Sunday 31 January 2016

Make a purchase on Japanese 3DS e-shop

In order to purchase the #Pokemon virtual console games for the VC #Mew event on your Japanese 3DS, you will need to add credit to your account using your 3DS either by prepaid card or credit card.

If you have already set up your Nintendo Network ID on your 3DS, the purchase part is pretty easy.

Please check that you can access your Nintendo Account here or you will have trouble getting to your code!

In the 3DS e-shop (shopping bag icon on Home Screen), scroll left until you see the icon for adding payment (credit card icon).

Left to right, top to bottom: if you use a prepaid card, you only have to enter the prepaid card number but if you pay by credit card, you need to choose how much credit to put on, choose your credit card company and enter your credit card details. Accepted credit cards are JCB, Mastercard and Visa. You'll be asked if you want the save the credit card details (the left button is no), and then to confirm the credit purchase (the right button is yes).

Once there is credit in your account, you should be able to see your balance at the bottom of the top screen (in the images, you can see I have 500 yen).

Then it is as easy as going back to the front of the e-shop and selecting the Pokemon virtual console games. You can tell which game it is from the image in the top screen but just in case, the games from left to right are, red, green, blue and yellow.

The button for "continue", "next" and "agree" is usually the one on the right, or in orange.

Here is the Pokemon Virtual Console in the e-shop as of Feb 1st 2015.

The games are downloadable and the Mew code is redeemable from Feb 27th to Mar 31st. The VC Mew code is obtainable after purchasing any of the VC games. The code will be shown to you on the receipt after the purchase of the VC game (see here in your transactions).

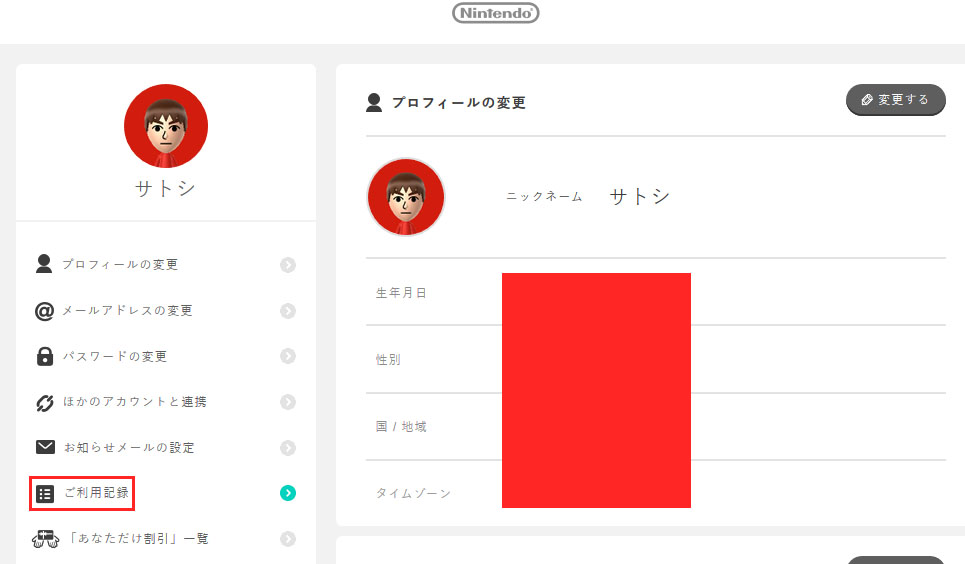
You can also click the My Transactions link in the red box after you login to your Nintendo account.

Click on your purchase. On the next page, the serial code will be under the text
《シリアルコードはこちら》

To clarify:

There are 3 Virtual Console items/merchandise for sale, for each Red, Blue, Green and Yellow VC game.

  • The VC game that you buy from the e-shop from your 3DS or an in-store download card in Japan, for 1,200 yen (shown above)
  • A physical package which includes a code to download the game as well as some other goodies like stickers, magnet and a map for 1,500 yen
  • The 2DS bundle which comes with the VC game pre-loaded on a 2DS with a Mew for the VC game as well as other physical goodies for 10,777 yen.

All 4 Virtual Console items include the Mew code for XY/ORAS (the physical package and 2DS bundle will be a physical card with the code).

Each download of each GAME (R/B/G/Y) comes with the Mew code, so you could buy all 4 VC games for 4 codes.

Make a Japanese Nintendo Account and link it with your 3DS

In anticipation of the #Pokemon Red/Blue/Green/Yellow re-release with the #Mew event code, I've included a few instructions for those with a Japanese 3DS who are interested in trying to get this for themselves.

This part can be a bit tricky and I'll be happy to help you out if you get stuck via Facebook. Please make sure to send me a screen shot or photo of the step you got up to so I can figure out what happened.

Please note that the Mew code event from this Virtual Console package is only attainable from 27th Feb 2016 to 28th Feb 2017 and is redeemable from 27th Feb 2016 to 31st Mar 2017.

Also I do apologise for the potato quality :)

Before you start, you need to make sure your 3DS can be connected to the internet (although the text will be in Japanese and not in English, but the buttons are basically in the same place/same color so follow the English instructions there), that your system is up-to-date (it should try to download updates once you have connection to the internet) and that you have a Mii set up.

To set up a Mii: from the home screen, find the Mii icon and it will prompt you to make a Mii. Press next (次へ), then OK, select Start from Scratch (はじめからつくる), select gender, customize Mii if you like and click next (次へ) down the bottom, fill in a name and click next (次へ) down the bottom.


If you have all that ready, then you can start registering for a Nintendo Network ID using the image below. If you already have a Nintendo Network ID, in the last image, select the top option instead and it will ask for your Nintendo Network ID and password to log in.

Read from left to right, top to bottom. For making a net Nintendo Network ID from scratch, choose the bottom option in the last image.

Press the buttons as indicated below until you get to the page where you input your details (the three drop-down boxes).

From the top to bottom, left to right: date of birth (year, month, day), gender (boy, girl), Nintendo Network ID ie username, Nintendo Network ID password, confirm password, your working email address, retype email address.

Do not reuse an email that you have already used for a previous Nintendo Account. Just to be safe, use a completely new email that you have not used with Nintendo before (any region).

Read from left to right, top to bottom. When you get around to filling your personal details, they are: date of birth (year, month, day), gender (boy, girl), Nintendo Network ID ie username, Nintendo Network ID password, confirm password, your working email address, retype email address.

An email will be sent to your email address with an activation link. It may end up in your spam folder so check both inbox and spam/trash.

Click on the link to activate your account.

Go to the Nintendo website to log in. It took about 5 minutes for my account to activate properly so it would recognize me.

You should then be shown your details like your name, birthday etc, that you entered previously.

I've blanked out my details but you should see yours in those white boxes. Check the second box to agree to terms and conditions and click the blue button to proceed.

 You will then be sent another confirmation code to your email. The email will contain a 4 number code that is present in the email subject. Again, check your spam/trash just in case.

Enter the 4 number code where the dashes are and then press the blue button.

If you are successful, you should be shown your details on the account page. Otherwise, try to log in either using your email and password, or using your Nintendo Network ID and password.

If you are unable to log in but you are fairy sure that the email you signed up with is correct, you can try to reset your password and log in that way.

The next step is to make the purchase in the shop.